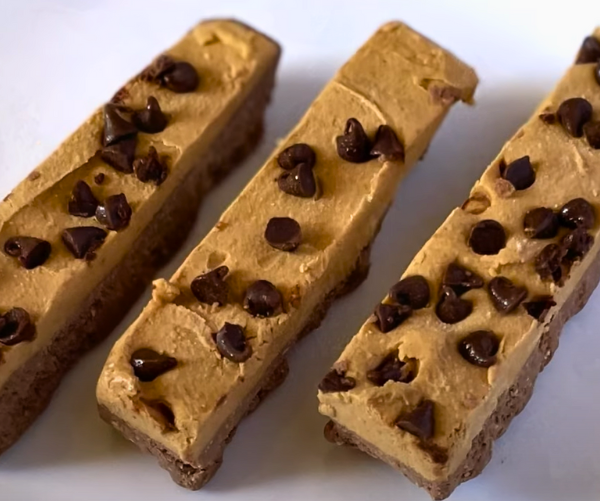
Chocolate and peanut butter are a classic duo, and when combined in a protein bar, they become the ultimate balance of flavor and fuel. These bars are rich, chewy, and naturally satisfying—perfect for a quick snack or post‑workout boost.
This easy, no‑bake recipe comes together in minutes with simple ingredients you likely already have at home. Packed with protein and wholesome goodness, it’s a healthier alternative to store‑bought bars without sacrificing taste.
What is a Chocolate Peanut Butter Protein Bar?
A chocolate peanut butter protein bar is a homemade or store‑bought snack designed to deliver both flavor and fuel. It combines the rich taste of cocoa with creamy peanut butter, creating a chewy, satisfying bar that’s packed with protein.
Unlike candy bars, these protein bars are made to support energy and recovery. They’re often no‑bake, easy to prepare, and perfect for meal prep—making them a healthier grab‑and‑go option for busy days or post‑workout snacking.
Tools You Need to Make Chocolate Peanut Butter Protein Bar
You don’t need fancy equipment to whip up these no‑bake protein bars — just a few kitchen basics will get the job done.
- Mixing bowls (one for the base, one for the caramel layer)
- Measuring cups and spoons (for accuracy)
- Whisk or spatula (to mix smoothly)
- Small saucepan or microwave‑safe bowl (for melting cacao butter)
- Lined baking dish or container (to press and set the bars)
- Sharp knife (for clean slicing once chilled)
With these simple tools, you’ll be ready to create protein bars that look and taste like they came straight from a bakery — but with your own homemade touch.
Ingredients
These wholesome ingredients create a chewy chocolate base topped with a creamy peanut caramel layer. Each one adds flavor, texture, or nutrition to the bars.
For the Bars
- Vegan chocolate protein powder (95 g) – the foundation for protein and rich cocoa flavor
- Oat flour (45 g) – adds structure and a soft, chewy bite
- Peanut flour (25 g) – boosts protein while enhancing the nutty taste
- Date syrup (25 g) – a natural sweetener that keeps the bars moist
- Tahini (25 g) – adds creaminess and a subtle sesame depth
- Oat milk (150 ml) – binds the mixture and keeps it smooth
- Melted cacao butter (10 ml) – for richness and a hint of chocolate aroma
For the Peanut Caramel
- Oat milk (80 ml) – creates a silky base for the caramel layer
- Peanut flour (60 g) – thickens the caramel and adds nutty flavor
- Date syrup (50 ml) – sweetens naturally with a caramel‑like taste
- Melted cacao butter (10 ml) – helps the caramel set with a smooth finish
Together, these ingredients make a protein‑packed bar that’s indulgent yet nourishing — perfect for meal prep, post‑workout fuel, or a healthier sweet treat.
How to Make Chocolate Peanut Butter Protein Bar at Home
These no‑bake bars come together in just a few simple steps. Follow along to create a chewy chocolate base topped with creamy peanut caramel.
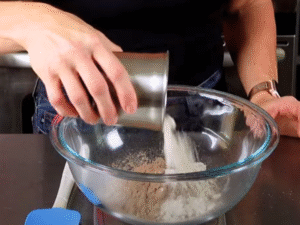
- Mix the dry base – In a bowl, whisk together the protein powder, peanut flour, and oat flour until evenly combined.
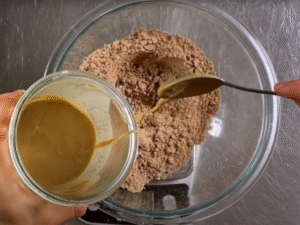
- Add wet ingredients – Stir in the date syrup, tahini, and plant‑based milk until the mixture starts to come together.
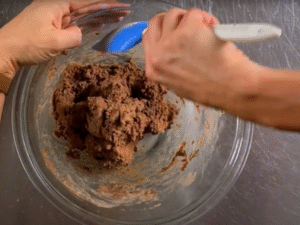
- Enrich the dough – Pour in the melted cacao butter and add a little extra oat flour if needed. The dough should be soft but not sticky.
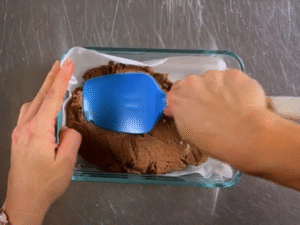
- Shape the base – Press the mixture firmly into a small lined container, smoothing the top with a spatula.
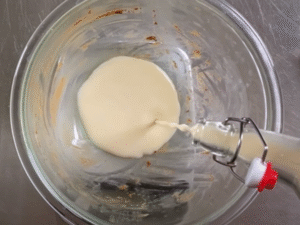
- Make the caramel layer – In a separate bowl, whisk oat milk, peanut flour, date syrup, and melted cacao butter until thick and creamy.
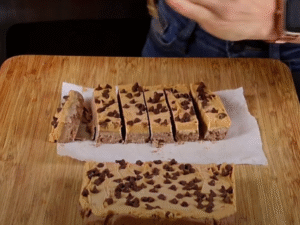
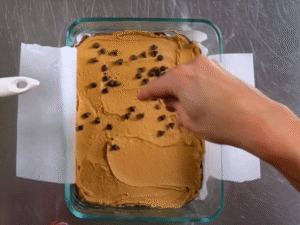
- Assemble & chill – Spread the caramel evenly over the base, then place the container in the freezer for 3–4 hours to set.
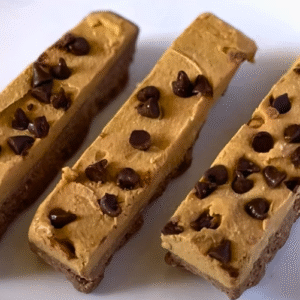
- Slice & serve – Once firm, cut into 12 bars. Each bar is packed with protein and ready to enjoy as a snack or post‑workout boost.
With just a little mixing and chilling, you’ll have homemade protein bars that taste indulgent yet fuel your day with clean, plant‑based energy.


Nutrition Facts (per serving)
These homemade protein bars aren’t just delicious — they’re designed to fuel your body with balanced nutrition in every bite.
- Calories: 120
- Protein: 10 g
- Carbohydrates: 12 g
- Fat: 5 g
- Fiber: 3 g
- Sugar: 6 g
With this balance of protein, healthy fats, and natural sweetness, each bar makes a smart choice for snacking, meal prep, or post‑workout recovery.
Personalization & Tips
This recipe is flexible and easy to adapt — small tweaks can make it perfectly suited to your taste and lifestyle.
- Protein swap – Use vanilla or unflavored protein powder if you prefer a lighter chocolate taste.
- Nut butter twist – Replace tahini with almond butter or cashew butter for a different flavor profile.
- Sweetener choice – Try maple syrup or agave instead of date syrup for a subtle change in sweetness.
- Texture boost – Add rolled oats or crushed nuts for extra crunch.
- Chocolate upgrade – Drizzle melted dark chocolate over the top before freezing for a richer finish.
- On‑the‑go option – Shape the mixture into bite‑sized protein balls instead of bars.
- Storage tip – Keep in the freezer for long‑term storage, or refrigerate for up to a week for softer bars.
With these simple adjustments, you can make each batch feel new — whether you want extra crunch, a different nutty flavor, or a touch more indulgence.
Easy Chocolate Peanut Butter Protein Bars (No Bake!)
Equipment
- Mixing bowls (one for the base, one for the caramel layer)
- Measuring cups and spoons (for accuracy)
- Whisk or spatula (to mix smoothly)
- Small saucepan or microwave‑safe bowl (for melting cacao butter)
- Lined baking dish or container (to press and set the bars)
- Sharp knife (for clean slicing once chilled)
Ingredients
For the Bars
- 95 g Vegan chocolate protein powder
- 45 g Oat flour
- 25 g Peanut flour
- 25 g Date syrup
- 25 g Tahini
- 150 ml Oat milk
- 10 ml Melted cacao butter
For the Peanut Caramel
- 80 ml Oat milk
- 60 g Peanut flour
- 50 ml Date syrup
- 10 ml Melted cacao butter
Instructions
- Mix the dry base – In a bowl, whisk together the protein powder, peanut flour, and oat flour until evenly combined.
- Add wet ingredients – Stir in the date syrup, tahini, and plant‑based milk until the mixture starts to come together.
- Enrich the dough – Pour in the melted cacao butter and add a little extra oat flour if needed. The dough should be soft but not sticky.
- Shape the base – Press the mixture firmly into a small lined container, smoothing the top with a spatula.
- Make the caramel layer – In a separate bowl, whisk oat milk, peanut flour, date syrup, and melted cacao butter until thick and creamy.
- Assemble & chill – Spread the caramel evenly over the base, then place the container in the freezer for 3–4 hours to set.
- Slice & serve – Once firm, cut into 12 bars. Each bar is packed with protein and ready to enjoy as a snack or post‑workout boost.